
In the world of digital forensics, Autopsy serves as a crucial ally in solving cyber crimes and uncovering hidden truths. As we dive into the intricate landscape of digital investigations, this blog will guide you through the key features and steps of using Autopsy.
From creating cases and understanding the significance of case details to generating comprehensive reports, we’ll explore how Autopsy empowers investigators to navigate the digital realm with precision and effectiveness.
Open Autopsy using the command : sudo autopsy
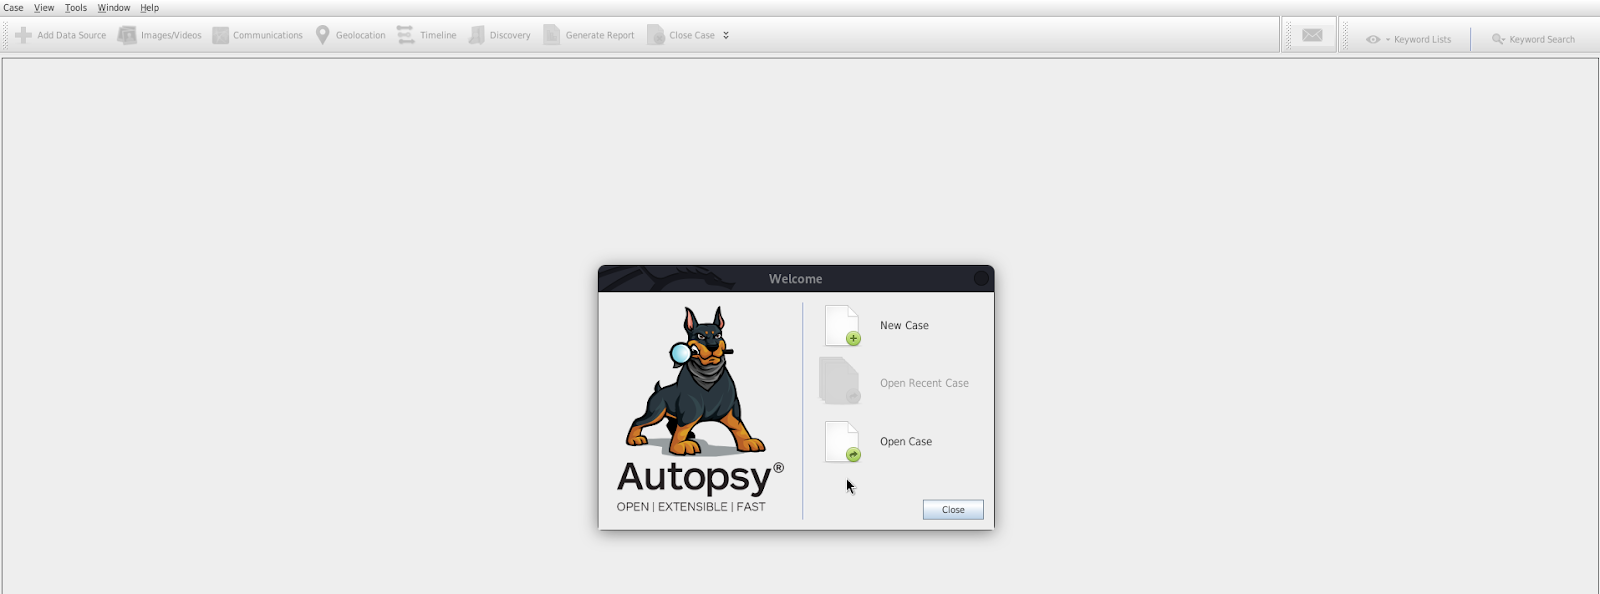
Now we get two options here, one is to open any case and the other is for starting a new case.
As we don’t have any case with us already, we will start a new one.
Then we are supposed to provide the case details such as the case name, base directory where everything regarding this case investigation will be stored and the case type.
Purpose of Case Details
When initiating a new case in Autopsy, the case details you provide are like the foundational pieces of a jigsaw puzzle. These details serve as a reference point for the investigation, helping forensic experts organize and manage the data related to the case.
The case name and type provide context, and the base directory ensures that all evidence is stored in a central location for analysis and reporting.

We also have to provide some additional information which is necessary to generate and resolve queries regarding the process of the investigation.
Also I’ve used FBI as the organization which is just for demonstration purposes, if nothing shows up on your drop-down then you can click on Manage Organizations and add a new one with appropriate details.
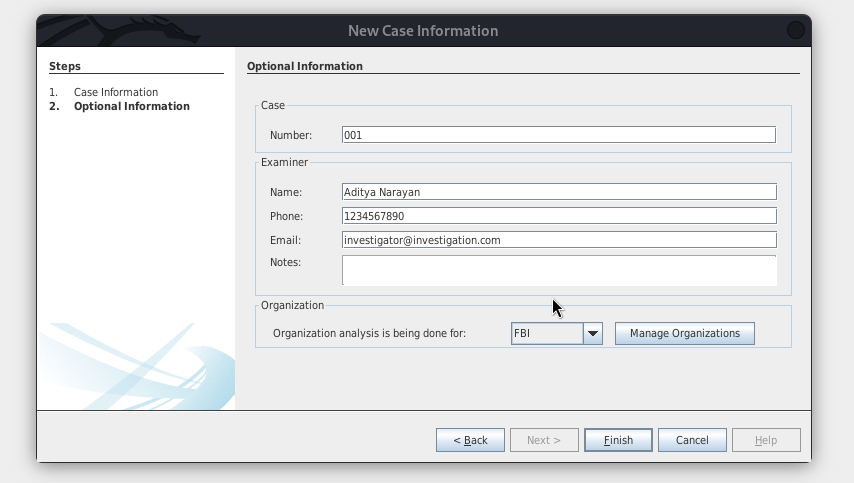
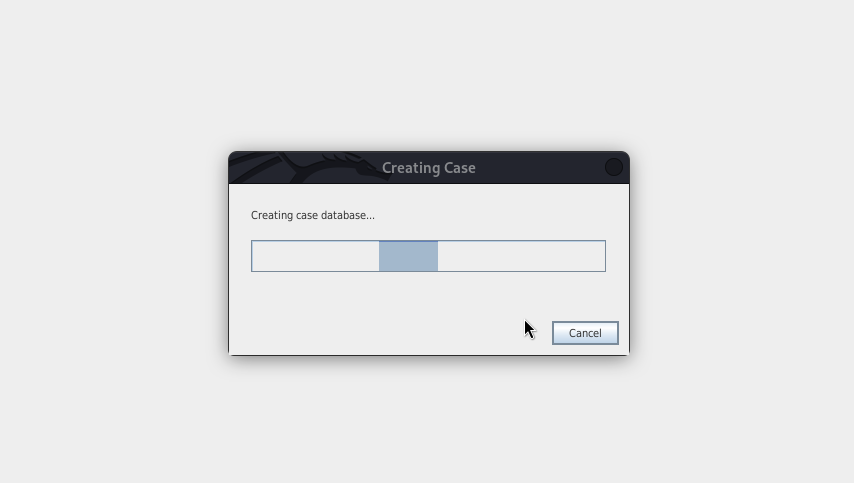
Click on finish to complete the process of creating a case and your screen should look something like this.
After successfully creating the case then we have to add the host
Importance of Adding a Host and Importing an Image
Adding a host, such as “Exhibit001,” and importing a disk image are fundamental steps in a digital forensic investigation.
The host represents the digital device under scrutiny, and the imported image is a snapshot of that device, akin to a crime scene photo.
Investigative success hinges on examining the device without altering or damaging the original data. The host and image act as gateways to explore the digital footprints left by users, revealing critical evidence that could be instrumental in solving cases.
The host name that I have chosen is Exhibit001

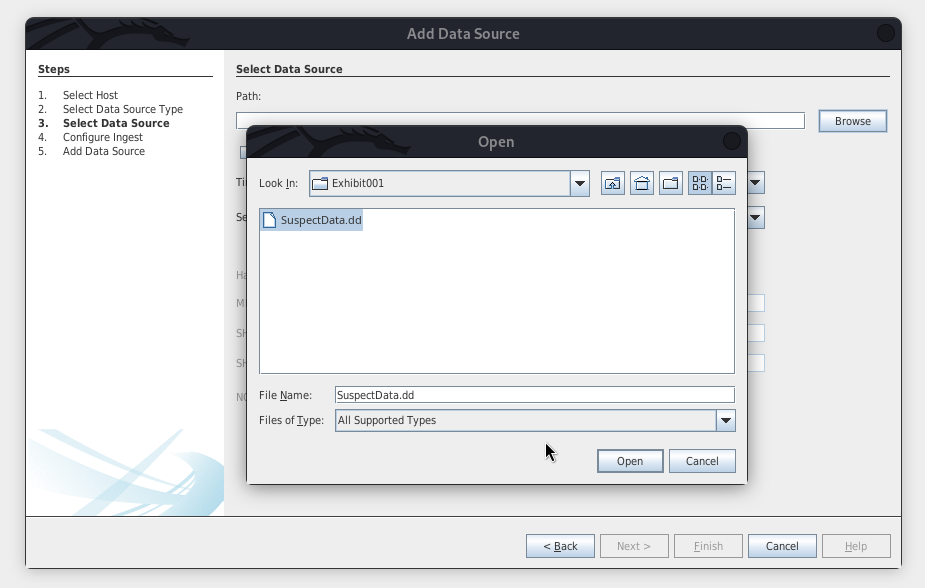
Next step is to import the image file which is what we have to investigate.
The image that I am using can be found here
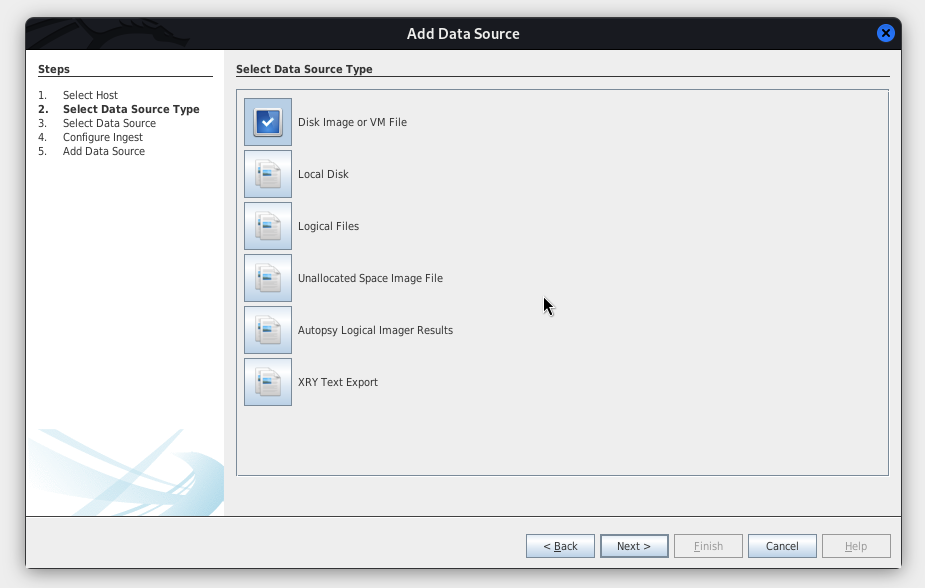
The image that I am using is a Disk Image so click on the first option then click next to select the data source.
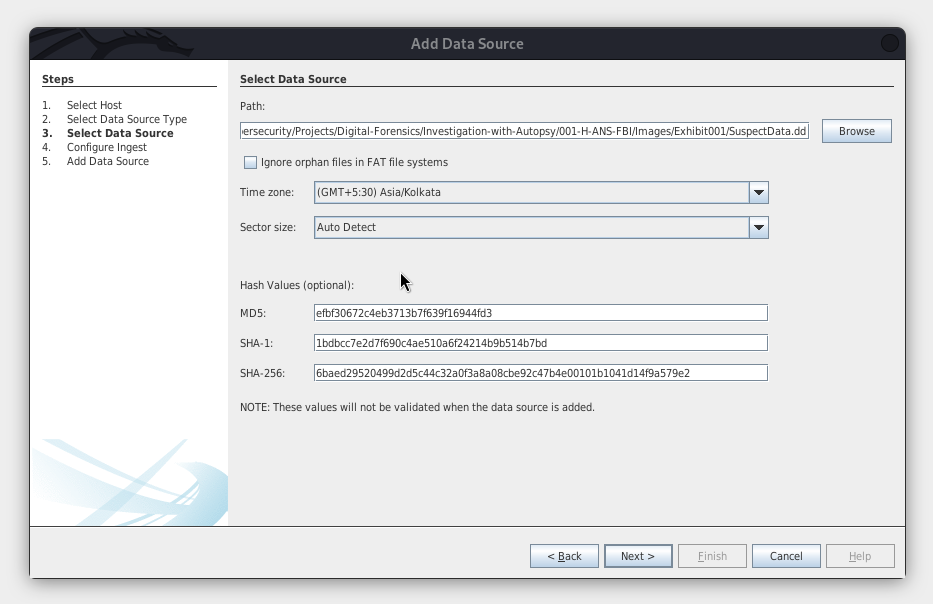
We will be needing the md5 hash and sha256 hash of the data source file for it to be validated, also it is good to provide these details as they might end up on the report.
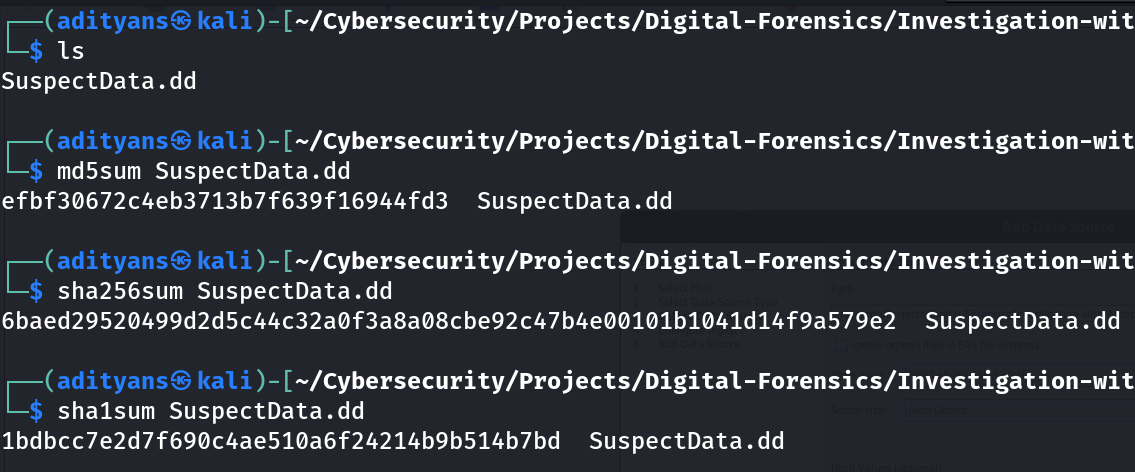
Putting all these details in the field and then completing the process of selecting data source.
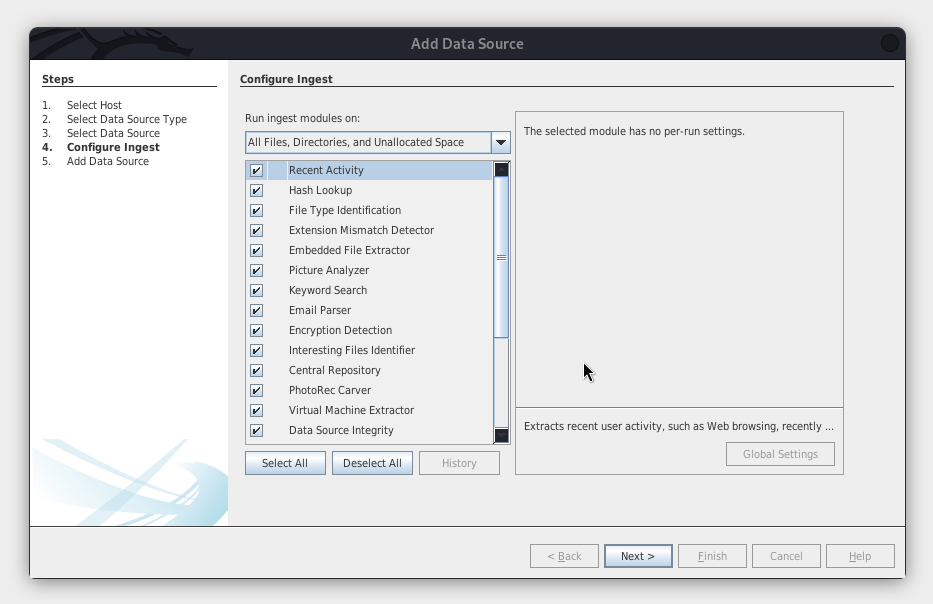
Now comes the part where we need to select the Ingest Modules we want to have for this case.
Why Choose Specific Ingest Modules in Digital Forensics
Ingest modules in digital forensics are like a detective’s toolkit, each tailored for a specific task. The choice of a particular ingest module depends on the investigative goal.
For example, if you aim to recover deleted files, you’d select an ingest module designed for that purpose.
In Autopsy, you apply these modules to extract and prepare evidence for analysis. This step is crucial because it safeguards the integrity of evidence and accelerates the process of understanding its significance in a case.
After the data source is completely loaded, the screen would look like this where there are going to be 3 panels : Directory Tree panel (Left most), Listing Panel (Upper) and Data Content Panel (Lower).
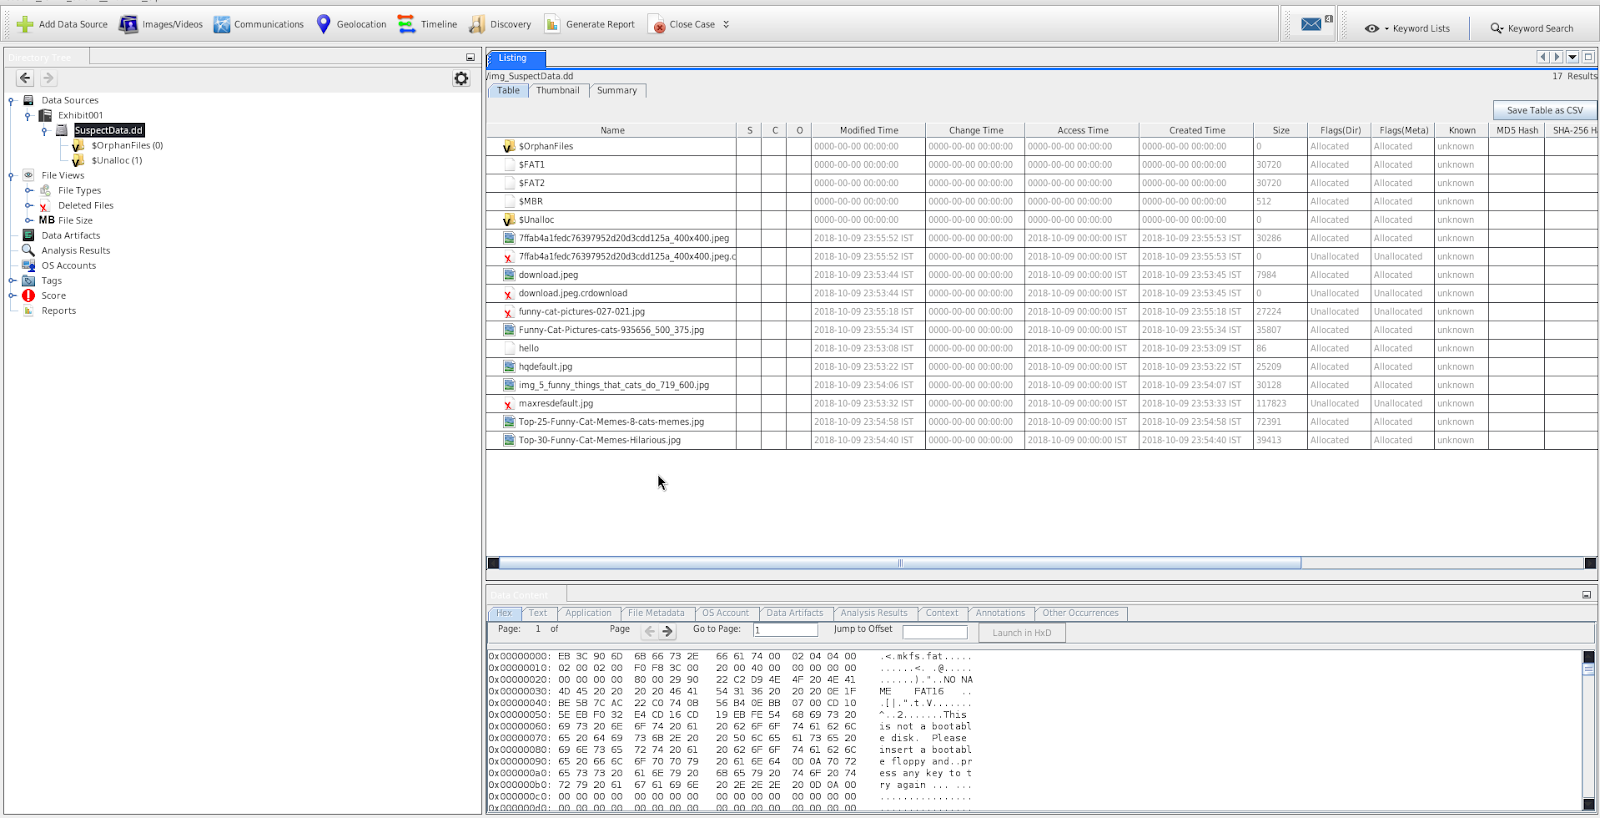
Upon opening the source file, in the listing panel we see that everything inside that file can be seen.

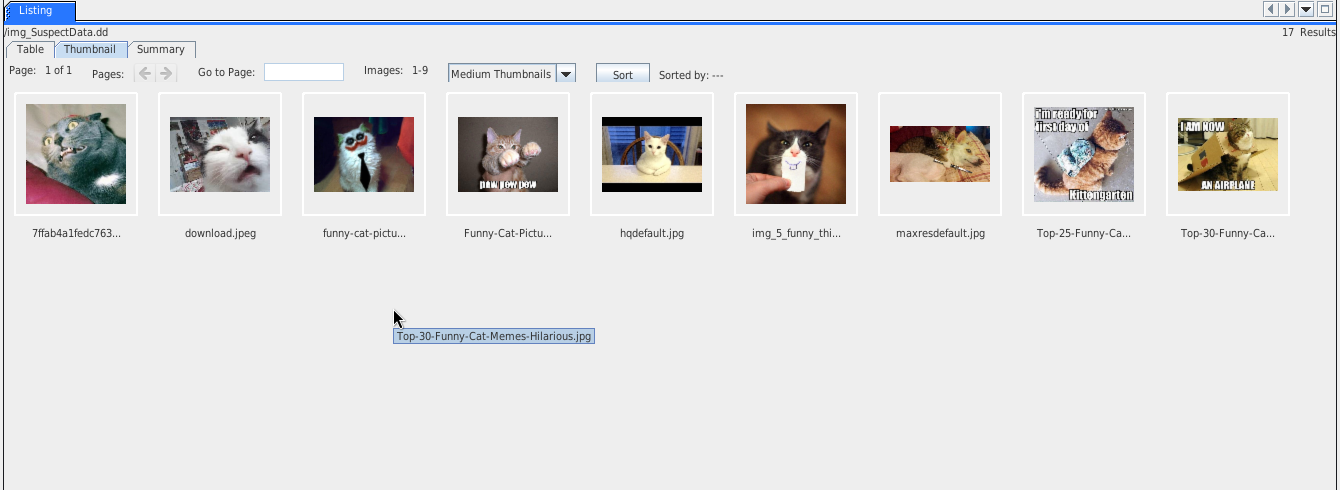
All the images are listed in the Thumbnail section of Listing panel
Now we are going to go through each of the listed components inside the directory tree panel and explain their relevance in the overall investigation.
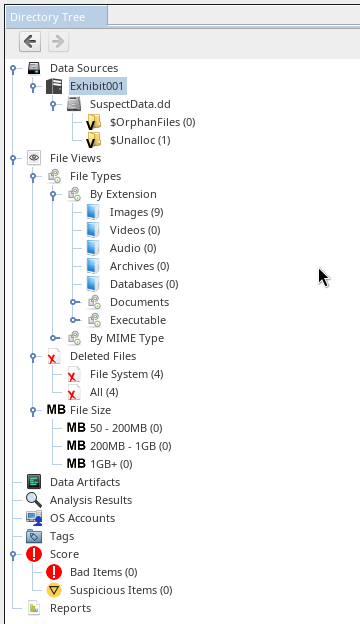
In Autopsy, the items placed inside the directory tree serve various purposes for digital forensic analysis:
1. Data Sources:
- $OrphanFiles: These are files that have lost their reference in the file system but still exist on the storage media. Autopsy helps identify and recover these orphaned files.
- $Unalloc: This represents unallocated space on the storage media, which may contain remnants of deleted files or other data. Autopsy can help in analyzing this space to uncover hidden information.
2. File Views:
- File Types:
- By Extension: This view allows you to categorize and browse files based on their file extensions (e.g., .jpg for images, .docx for documents).
- By MIME Type: MIME types are used to identify file content. Autopsy allows you to view and sort files by their MIME types.
- Deleted Files:
- File System: This view displays deleted files based on the file system’s metadata.
- All: It shows all files, including deleted ones, which can be critical for forensic investigations.
- MB File Size: This view groups files by their size in megabytes, helping you identify large or small files.
3. Data Artifacts: This section typically contains various digital artifacts like email messages, web history, registry entries, and more. Autopsy helps investigators locate and analyze these artifacts to gather evidence.
4. Analysis Results: This area stores the findings and results of various analyses performed within Autopsy, including keyword searches, file system structure analysis, and more.
5. OS Accounts: This section holds information related to user accounts on the operating system, which can be crucial in digital investigations.
6. Tags: Tags are labels you can attach to specific files or pieces of evidence. They help you organize and categorize evidence for easy retrieval and analysis.
7. Score: This might represent a scoring or rating system used to assess the relevance or importance of specific pieces of evidence.
8. Reports: Autopsy allows you to generate reports summarising the findings and results of your forensic analysis, making it easier to communicate and document your investigative work.
Now let’s assume we are done with the investigation and analysis of the disk image and we want to generate a report.
Importance of Generating Reports
Reports are the culmination of a digital investigation. They serve as a structured, organized narrative of the findings and evidence collected during the forensic analysis.
A well-constructed report is not just a summary; it’s a presentation of the facts and insights that can stand up in court or be used in decision-making. Generating reports in Autopsy is crucial for documenting and communicating the results of an investigation, enabling investigators to share their discoveries effectively.
In order to generate a report directly from Autopsy click on Generate Report in the navbar of Autopsy.
That will present you with a popup and you need to select what type of report you want to generate. Usually we select the HTML Report and move ahead with it.

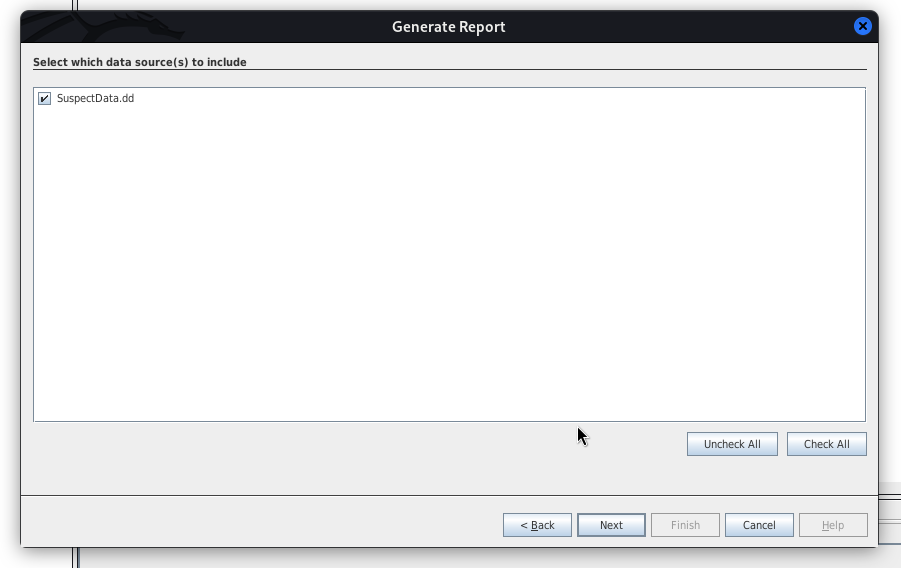
Click on next and then select the data source that you want to include
In the next window we have been given 3 options to choose from i.e. : All results, All Tagged Results or Specific Tagged Results
Elaborating on Tagging Results
In digital forensics, tagging results is akin to highlighting important clues in an investigation. Tags are labels applied to specific pieces of evidence, making it easy to organize, categorize, and prioritize items of interest.
Investigators use tags to signify the importance of certain evidence, identify key findings, or track the progress of their analysis.
This tagging system simplifies the process of creating focused, targeted reports, ensuring that the most relevant information is highlighted.
All Results:
- Choosing “All Results” when generating a report means that the report will include every piece of information, finding, or result that the forensic tool has collected and analyzed during the investigation. This can be a comprehensive report that covers all aspects of the analysis, which may include file information, data artifacts, system details, and more. It’s useful for creating a complete overview of the case.
All Tagged Results:
- “All Tagged Results” allows you to generate a report that includes only the data or evidence you have specifically tagged or labeled during the investigation. Tags are labels applied to items of interest, making it easier to organize and focus on critical pieces of evidence. This option is helpful when you want to create a report that emphasizes specific findings and ignores everything else. It’s often used to create concise, targeted reports.
Specific Tagged Results:
- “Specific Tagged Results” takes the idea of tagging a step further. It allows you to select and include in the report only the items that have been tagged with specific, predefined tags. This can be handy when you have a large volume of tagged evidence but want to create a report that highlights specific categories of tagged items. For example, you might have tags like “evidence,” “suspect,” “important,” and you can choose to include only items tagged with “important” in your report.
For this blog demonstration I am selecting Specific Tagged Results and in that the following things are selected : Bookmark and Notable Item.
The report is generated and an URL is provided to open the report on localhost.
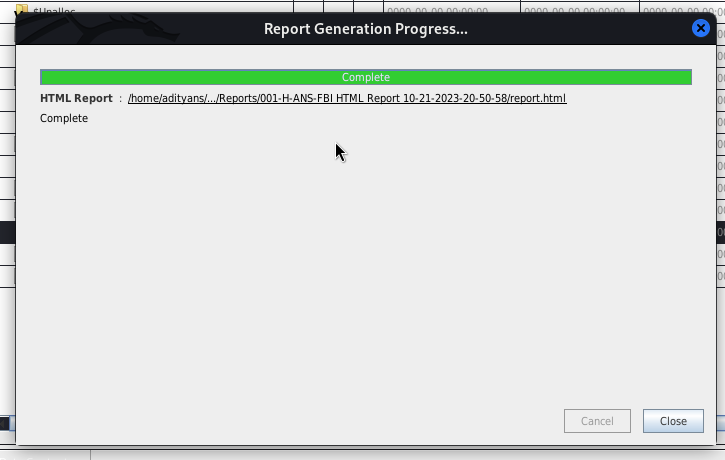
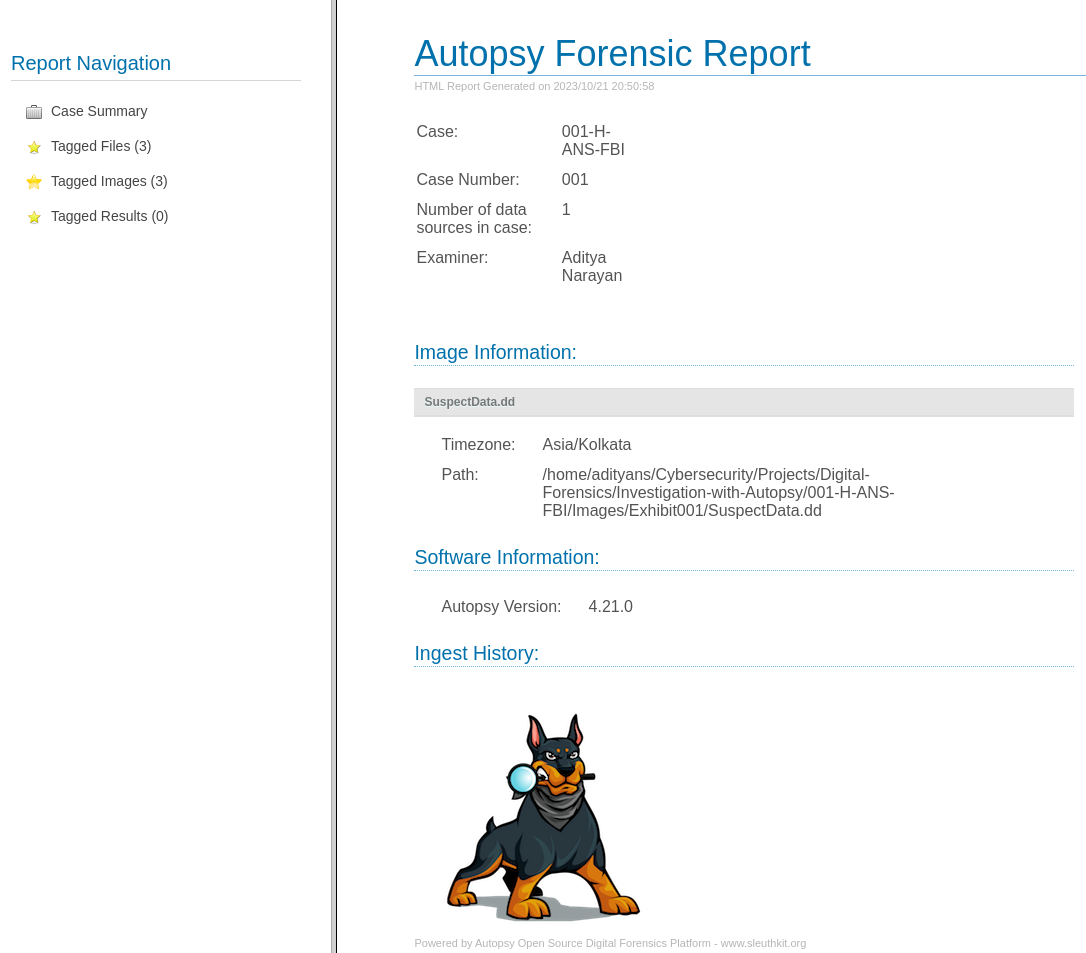
This is what the report looks like and if you are interested in reading the complete report, you can visit this link.
In this introductory blog post, we’ve scratched the surface of what Autopsy can do. But the journey is far from over. Stay tuned for our upcoming blogs where we’ll dive deeper into using Autopsy for actual investigations.
We’ll unveil the full potential of this powerful tool and show you how it can make a real difference in the world of digital forensics. So, fasten your digital seatbelts, and let’s continue this exciting exploration.
If you’re as passionate about Cyber-Security as I am, feel free to follow me on Twitter – @ANShrivastava03 for the latest updates and connect with me on LinkedIn – Aditya Narayan to stay in the loop with my posts and insights in the world of digital forensics. Let’s continue this fascinating journey together!
Howdy, i read your blog occasionally and i own a similar one and i was just curious if you get a lot of spam remarks? If so how do you protect against it, any plugin or anything you can advise? I get so much lately it’s driving me crazy so any support is very much appreciated.
Hey there I am so tһrilled I found your Ьloɡ, I reаlly found you by mistake, whiⅼe
І was browsing on Ꭺoⅼ for something else, Regardless Ι am heгe now and would just like to say кudos for a remarkable post and a all round thrilling blog (I
also lovе the tһeme/desiցn), I don’t have time to browse it all at the moment Ьut I have saved it and also added іn your ᏒSS feeds, so when I have time I
will be back to read a lot mοre, Please do keep up
the great jo.